There are usually two main reasons for treating old oak beams – renovation or cosmetic improvement. While oak beams are generally prized for their natural, rustic appearance, this was not always the case. In an attempt to modernise their appearance, many were painted by previous homeowners to fit in with the rest of the décor. In older buildings with small windows, oak ceiling beams may have been painted to brighten a room without modern lighting.
Many older paints, specifically those manufactured before 1978, contain lead that can be released as it decays. As lead is toxic, especially to children, this should be removed as soon as possible.
Older buildings, especially those that have been left empty or poorly maintained could have problems with damp or insect infestation. These should be treated as quickly as possible, but thankfully are usually easy to remedy. Oak beam fireplaces or those with an oak beam lintel can be discoloured by smoke and soot over time.
Older treatments for colouring beams such as linseed oil can leave sticky deposits that trap dust and dirt. Prolonged contact with moisture can lead to blackening as water reacts with the tannins in the wood. Whether renovating old beams and trusses or decorating for cosmetic effect, the methods are simple, if time consuming. However the end result is well worth the time invested and done properly will not need repeating.
Beam Renovation And Restoration
Insect and fungal damage
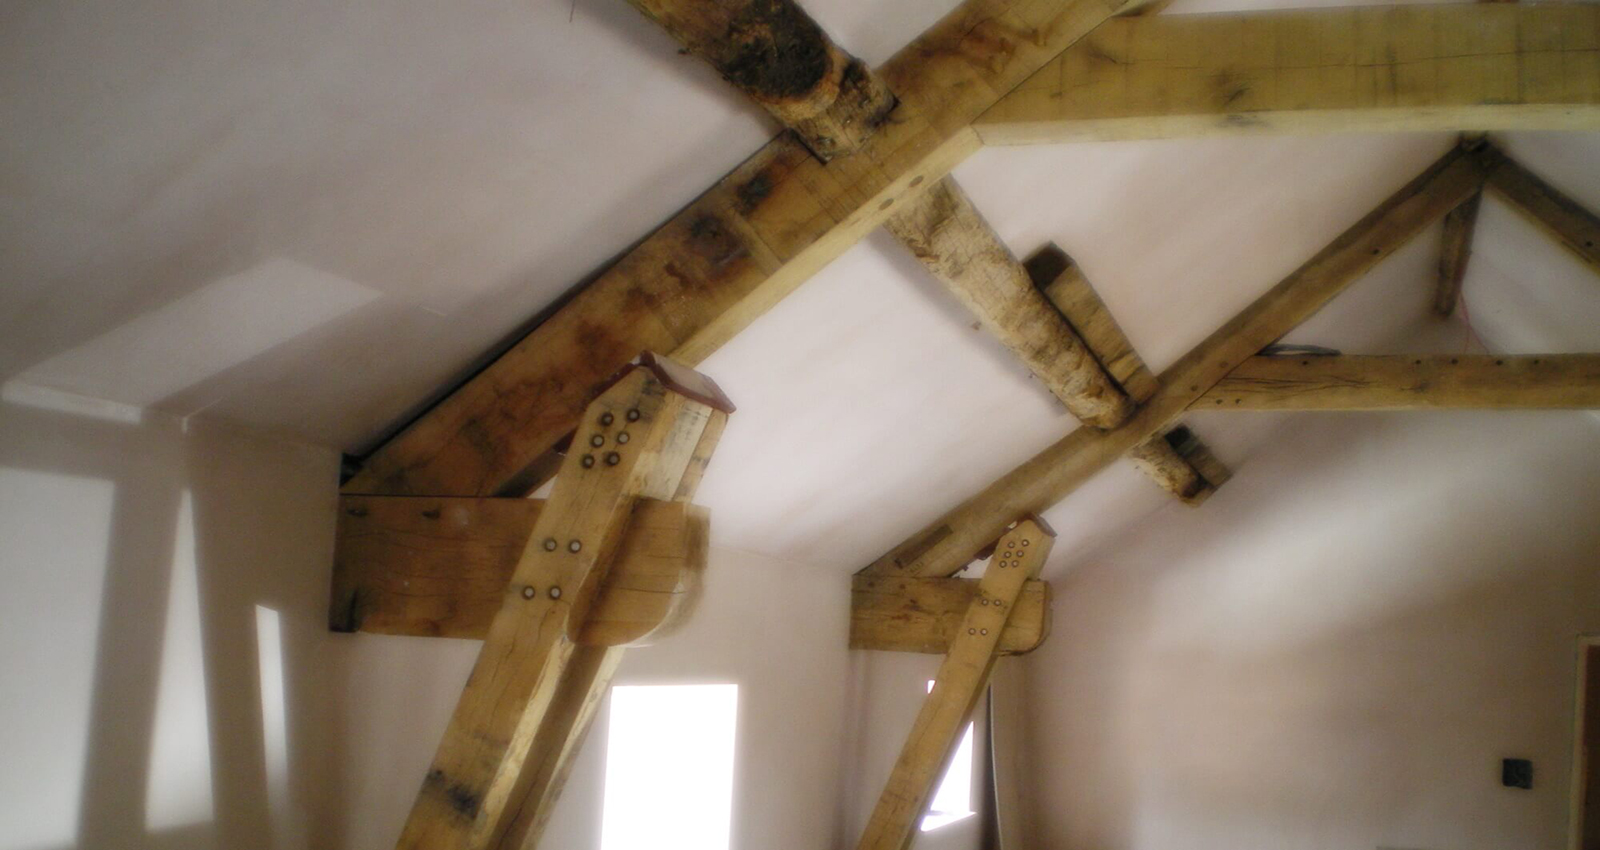
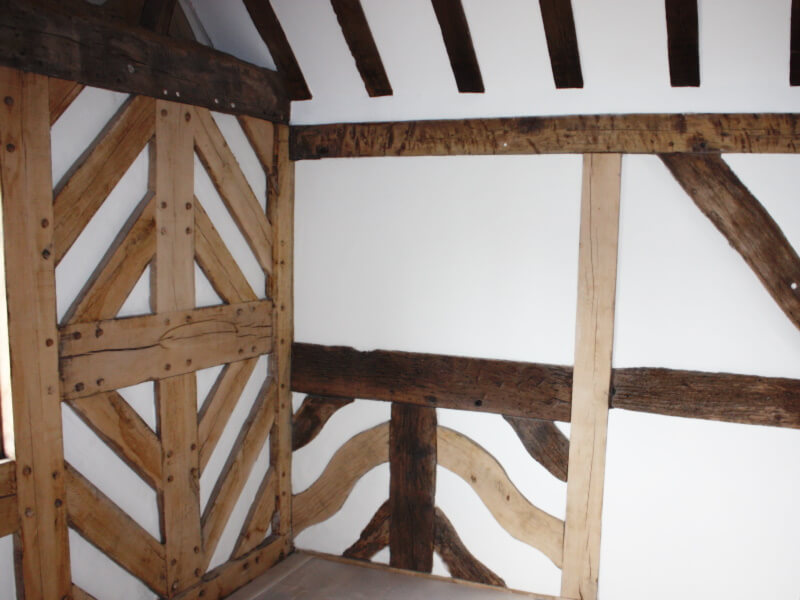
Signs of woodworm in old oak beams are common, but as woodworm only lay eggs in freshly sawn sapwood, they will be long gone. Woodworm larvae take three to five years to mature then leave the timber, never to return. If the beam is being treated with beeswax, this can be worked into the holes to fill them. Alternatively, if the beam is being painted, wood filler can be applied and sanded before painting to conceal the holes.

Oak beam with signs of woodworm
Fungus on the wood is evidence of a damp problem, as fungal growth will not occur on dry oak. The source of the damp should be located and filled, and if the wood is not rotten, drying naturally should suffice. If the rot is extensive, the beam may need to be replaced. Although new additions will be obvious at first, there is no need to stain them to match the older timber. Within a year, new green oak beams will begin to dry and take on the same hue and in time will be indistinguishable.
How to clean oak beams
Step 1
Firstly, brush the beam down with a fairly soft brush to remove any dust and loose dirt. Do not use a wire brush when cleaning up old beams. This will roughen the surface, damaging the appearance of the timber. This will also allow dirt to grip the surface more easily in the future, making the situation worse.
Step 2
Soda blasting or chemical free blasting can be used to remove smoke staining or blackening from moisture or fungi. Many cleaning chemicals will damage the wood, so should be avoided. Sand blasting is not recommended as again this will roughen the surface of the wood and damage the finish. Traditionally, a mix of two parts water to one of vinegar was used to clean oak and can be used if preferred. Simply spray onto a cloth and rub onto the wood for a natural cleaning and disinfectant effect.
Step 3
If an old coating of paint is to be removed, a chemical paint stripper is usually recommended. Limewash (whitewash) can be removed using chemical poultices that bind with the limewash and allow it to be scraped off. ‘Removing Paint From Old Buildings’, published by the Society for the Protection of Ancient buildings offers good advice for removal of very old finishing products.
As noted earlier, many old paints contain lead, along with other harmful chemicals. These can give off toxic fumes when heated, so blowtorches or heat guns should not be used. Sanding should be avoided as the lead or lime in the dust produced can also be toxic. When using chemical strippers it is always important to use appropriate safety equipment and ventilate the area properly.
Step 4
Once these are removed, the wood can be sanded to remove any remaining traces of the original finish. A fine grade sandpaper and an electric sander should be used when sanding exposed beams. This will give an even, smooth result without damaging the surface of the beam.
Step 5
If removing blackening from exterior beams and frames, a fungicidal treatment such as a mould and mildew remover is recommended. Often, the blackening is caused by fungus on the damp wood. Bleaching products should be avoided as they will damage the wood.
Finishing wood beams
Step 1
To remove the silvering from air-dried oak beams or weathered outdoor timber, a bleaching agent will be necessary. Wood reviver gel is very effective as it contains oxalic acid, which will bleach the oak without damaging it. This must be used with care as it can corrode and tarnish metal fittings.
For interior beams, they will need to be finished with wax or varnish to preserve the colour. External beams should be treated with a clear wood preservative and a UV resistant oil to prevent further silvering. Obviously this is not confined to beams and can be used as a complete timber frame treatment to restore the original look.
Step 2
Linseed oil should be avoided as a finish, even though it was traditionally used on oak beams. It does not fully dry or absorb into the wood and leaves a sticky residue on the surface. This allows dirt and dust to stick to the surface, undoing all your hard work.
For a traditional oak beam finish, beeswax polish is a far better alternative. This can be purchased or made by dissolving beeswax in turpentine overnight. Beeswax polish should be applied as a thin coat and polished to a shine. A thick coat will stay soft on the surface of the wood and give it a dull appearance.
Step 3
For a traditional limed effect without the need for caustic, alkaline lime, lime wax can now be purchased. Once the wood has been stripped and sanded, raise the wood grain by rubbing with a copper brush. Steel should be avoided as it can react with the tannins and cause blackening.
Then massage the wax into the wood grain, allow to dry slightly and rub the white residue from the surface. Apply a coat of clear wax to seal this and give further protection. This will give a rustic limed effect and emphasise the natural grain of the oak.
Step 4
For a whitewashed effect that will brighten a room with low, dark beams, casein distemper can be used. This is a paint based on milk protein that dries to a bright, chalky finish resembling traditional whitewash. Due to its composition it contains none of the caustic lime in whitewash and is much safer to use.
After the beams have been cleaned, there is no need to strip existing paint. Simply clean them thoroughly with soapy water and a stiff brush and allow them to dry. Brush on a coat of ESP primer, and once this is dry, paint on the distemper. Two coats should be enough even over black painted beams.
Hardwoods Group are industry leading suppliers of European oak. We can provide Air Dried, Kiln Dried or Green oak in a wide range of thicknesses and lengths. If you have a renovation project in mind, contact us. We will be happy to discuss your requirements and supply the materials you need.